
Setting up an automatic pet feeder takes about 20 minutes. The most common first-timer mistakes are skipping backup batteries, setting the wrong time format, and using oversized kibble. This guide walks through all 10 steps, covers how to program the right portions for cats and dogs, and explains how to help your pet actually use the new device without stress.
Your cat found the empty bowl before your alarm went off. Again. If you just bought (or are about to buy) an automatic pet feeder, you already know the problem. Getting set up right the first time matters more than most people think. Set the wrong time, and your pet misses breakfast. Pick the wrong portion, and you will spend three months wondering why Biscuit gained a pound.
The good news: setting up an automatic pet feeder is a 20-minute job if you know what to expect. Most first-timers overthink it. The device itself is not complicated. But a handful of setup decisions directly affect your pet’s health and daily routine, and those deserve a closer look before you press any buttons.
This guide walks you through all 10 steps for setting up your automatic pet feeder, covers how to set portions correctly for cats and dogs, and explains how to help a hesitant pet warm up to the new gadget. Follow it once, and you will genuinely be able to set it and forget it.
What Do You Need Before You Start?
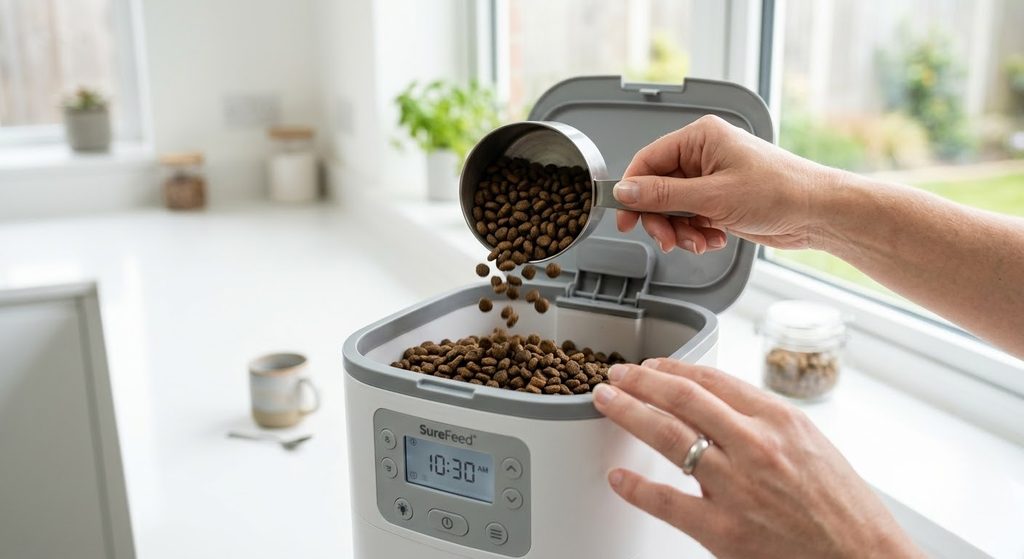
You need a stable indoor surface near an outlet, backup batteries, and dry kibble sized 2 to 13mm. Check all parts are present before powering on.
The spot matters more than people expect. According to setup guidance from Tikpaws, place the feeder on a flat surface away from direct sunlight, humidity, and areas where pets or kids might knock it over. A rubber mat underneath catches stray kibble and keeps the floor clean. If you have a Wi-Fi-enabled feeder, it needs to sit within a stable router range. Test signal strength at the intended location before finalising the spot.
Dry Food Only: Why That Rule Exists
Nearly every automatic feeder is designed for dry kibble only. Wet food spoils at room temperature within two hours and clogs the dispensing chute. The kibble size range across most major brands sits between 2 and 13mm in diameter. Pieces larger than that jam the food outlet. Check your bag before filling the hopper. Large-breed formulas often use bigger pieces, and some of those exceed the safe range.
Dual Power Setup
Install backup batteries before you plug in the AC adapter. Not after. This way, if the power goes out, the feeder keeps the schedule. Troubleshooting reports from WOpet and similar manufacturers consistently flag dead batteries and power cuts as the top reason pets miss scheduled meals. Use fresh alkaline batteries, not rechargeable ones. Rechargeable batteries have inconsistent voltage that causes motor issues in some models.
The 10-Step Setup Process
Here is the full process, in order. Do not skip to step six. The feeder schedule syncs entirely to the time set in that step. If the clock is wrong, every single meal fires at the wrong hour.
- Unbox and lay out all parts. Check for any shipping damage.
- Assemble the food hopper onto the base unit. Twist clockwise until it locks.
- Place the feeder in its final location. Moving it after setup does not reset the programming, but moving it confuses your pet during the adjustment period.
- Install backup batteries in the battery compartment.
- Plug in the AC adapter.
- Power on. Press and hold the unlock button (usually 3 seconds) until you hear a beep.
- Set the current time. This is the most important step. Get the AM/PM or 24-hour format correct before saving.
- Program the number of meals and the meal times.
- Set portion sizes per meal.
- Run a manual test dispense to confirm the mechanism works and the kibble passes through cleanly.
One thing worth doing before you leave your pet alone with the feeder: run a full 24-hour dry run while you are home. Watch the scheduled feeds fire. Confirm portions are accurate. Fix anything now, not at 7 am on a Tuesday when you are already running late.
How Do You Set the Right Portion Size?
Most adult cats need about a quarter cup per meal twice daily. Dogs vary from 1 to 4 cups based on size. Always verify the right amount with your vet first.
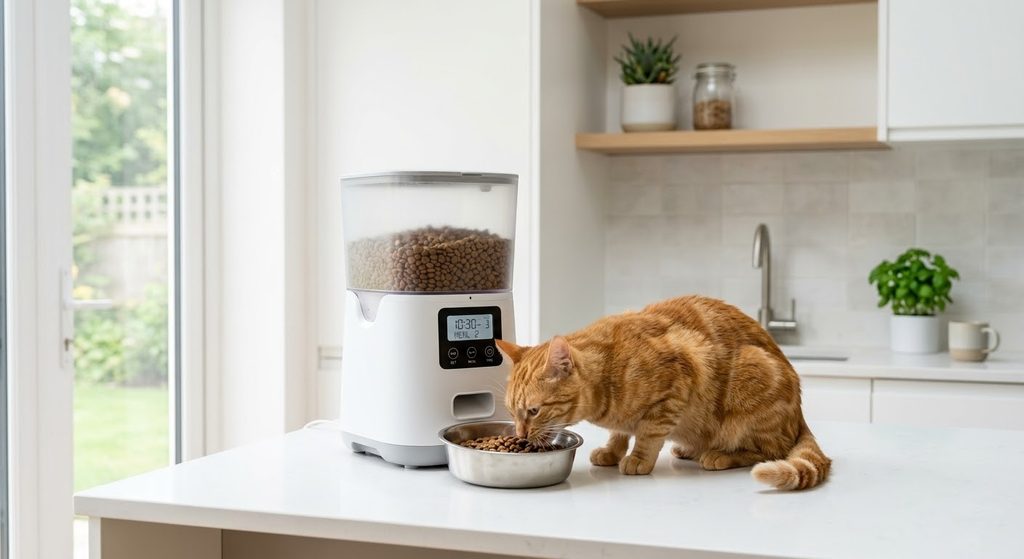
According to PetMD, a 10-pound adult cat needs roughly 250 calories per day. If your dry food contains around 500 calories per cup, that works out to half a cup daily, split across two meals. Each meal is about a quarter cup. The PetSafe Healthy Pet Simply Feed adjusts meal sizes in 1/8-cup increments, which makes hitting that target straightforward without any guesswork.
Cats that are less active, older, or overweight may need less. Kittens need more, more often. Cornell Feline Health Center research shows obese cats are four and a half times more likely to develop diabetes than cats at a healthy weight. Portion control is not optional.
Portion Sizes for Dogs
Dogs are trickier because breeds vary so widely. A 10-pound Shih Tzu and a 90-pound Labrador share almost nothing nutritionally. As a starting point, most adult dry dog food guidelines recommend roughly 1 cup per day for small breeds (under 20 lbs) and up to 4 cups daily for large breeds (over 75 lbs), split across two meals. Read the calorie information on your specific food bag and divide it from there.
Reading the Calorie Label
Look for kcal/cup on the back of the bag, near the guaranteed analysis section. Divide your pet’s daily calorie target by the kcal/cup figure. That gives you total cups per day. Divide by the number of meals. It sounds fiddlier than it is. Most labels make it clearer once you know what to look for.
How Many Times a Day Should You Program the Feeder?
Program at least 2 meals daily for adult pets. Kittens under 6 months need 3 meals. This matches the stomach’s natural 8 to 10-hour emptying cycle.
VCA Animal Hospitals recommend at least two meals per day for adult cats, and the reasoning is straightforward. According to Preventive Vet, a cat’s stomach empties in 8 to 10 hours. Beyond that window, stomach acid builds up and can cause nausea and vomiting. Two meals, roughly 8 to 12 hours apart, match the biology.
For kittens under 6 months, Cornell recommends three meals per day to support growth and higher energy demands. For dogs, twice daily is the standard recommendation across most breeds, though some larger breeds benefit from three smaller meals to reduce the risk of bloat.
Always consult your veterinarian before making major changes to your pet’s feeding schedule, especially if they have an existing health condition like diabetes, kidney disease, or thyroid issues.
How Do You Introduce Your Pet to the New Feeder?
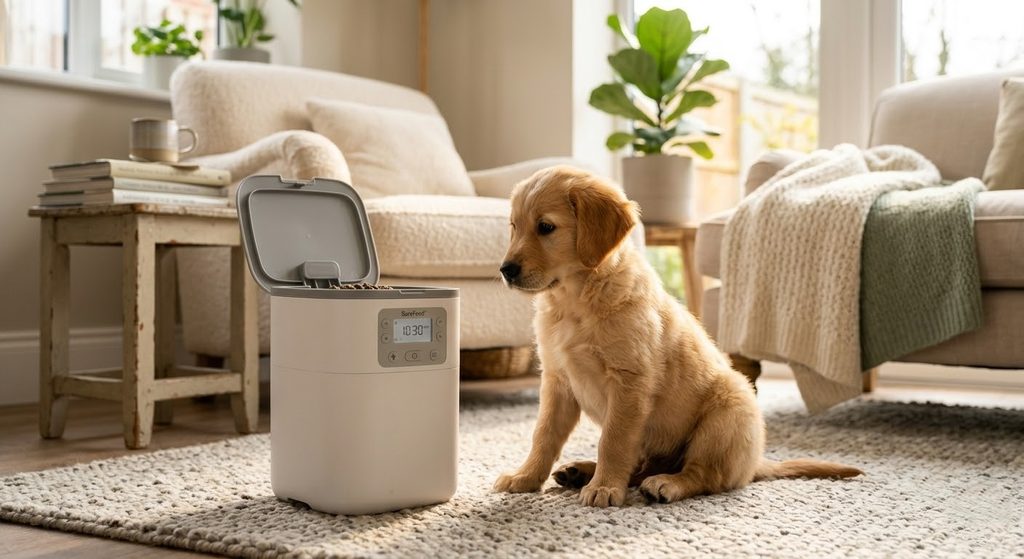
Place the feeder beside their old bowl for 2 to 3 days. Use positive reinforcement and the voice recording feature to build a calm, familiar association.
Do not swap their bowl out overnight. That is a recipe for a stressed, confused pet who refuses to go near the device. Put the feeder right next to their regular bowl and let them investigate at their own pace. Most pets sniff it within an hour. Skittish ones might take a full day.
Use the Voice Recording Feature
If your feeder has a voice recording option, record a short clip of your own voice (around 10 seconds works well). Program it to play just before each dispense. WOpet specifically recommends this approach for pets who are nervous about the mechanical dispensing sound. Your pet already knows your voice. Pair it with the sound of food dropping, and the feeder becomes safe quickly.
Positive Reinforcement
Drop a few treats near the feeder base for the first couple of days. Praise your pet when they approach it or eat from the bowl. Run a few manual test dispenses while you are standing there, so they learn to associate the mechanical click with food appearing. Most pets fully adjust within 5 to 7 days.
5 First-Time Setup Mistakes That Cause Missed Meals
These are the five most common errors based on user troubleshooting data and feeder manufacturer guidance.
1. Wrong time format. Setting 12-hour time when the feeder expects a 24-hour format, or vice versa, shifts every scheduled meal by 12 hours. Always verify the format your model uses before saving clock settings.
2. Oversized kibble. Kibble over 13mm regularly jams dispensing chutes. Multiple feeder troubleshooting guides confirm kibble size is one of the most common jam triggers. Measure a piece against the feeder spec before filling the hopper the first time.
3. Skipping the test dispense. Run a manual feed before the first scheduled meal fires. It confirms the portion is accurate, the chute is clear, and the mechanism works. Thirty seconds now saves a lot of frustration at 6 am.
4. No backup batteries. A single power cut resets the clock on most feeders. Without batteries, scheduled meals stop. A fresh set of alkaline AAs costs next to nothing compared to the stress of coming home to a very hungry, very unhappy dog.
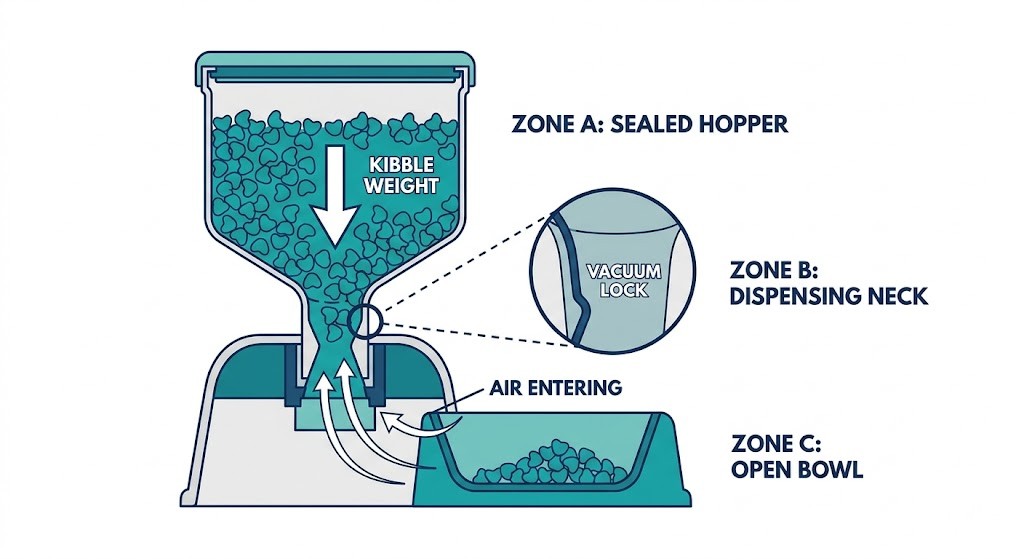
5. Overfilling the hopper. More food does not mean better performance. Excess weight at the top creates pressure at the chute and causes food jams. Fill to the maximum recommended line, not above it. Check levels every few days until you understand your pet’s weekly consumption pattern.
You Are Ready to Let It Run
Setup takes about 20 minutes. Getting it right upfront saves weeks of troubleshooting and, more importantly, means your pet never misses a meal. Set the right time, choose the right portion, install those backup batteries, and run the test dispense before you leave.
Once your pet has adjusted, an automatic pet feeder becomes one of the most reliable tools in any pet owner’s routine. If you are still deciding which model to buy, our guide to the best automatic pet feeders covers top-rated options across different budgets and pet types. Already running into issues with your current feeder? Our automatic feeder troubleshooting guide covers the most common problems and how to fix them fast.
Frequently Asked Questions
Can automatic pet feeders be used with wet food?
Most automatic feeders are designed for dry food only. Wet food spoils quickly and can clog the dispensing mechanism within hours.
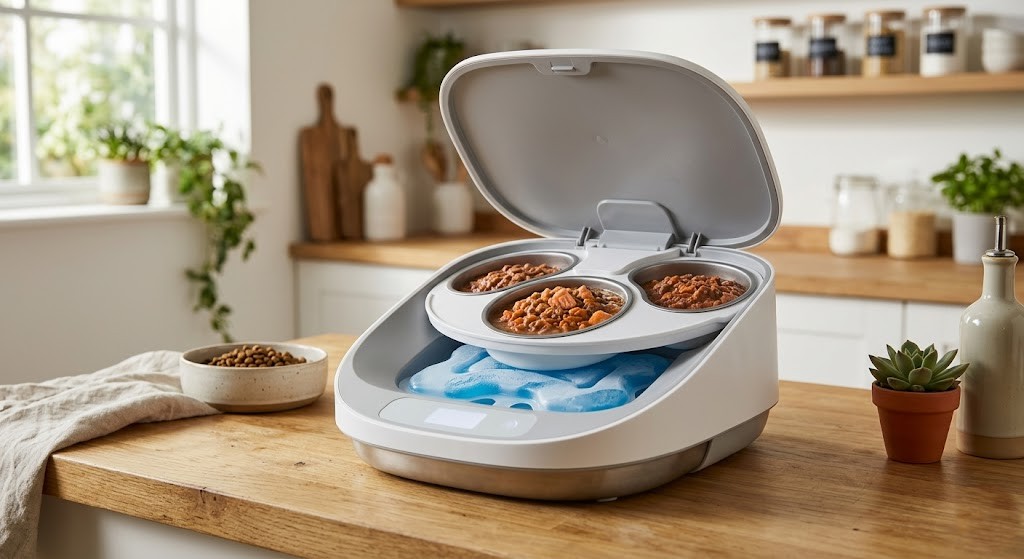
Wet food becomes unsafe for pets at room temperature after roughly two hours. The moisture causes bacterial growth, and the thick consistency blocks hopper augers and chutes built for kibble. A small number of premium models use sealed rotating tray compartments with ice pack inserts for wet food. Standard hopper-style feeders are dry-kibble only. If you need to serve wet food on a schedule, look specifically for a tray-style feeder rated for moist food before you buy.
What happens to the feeding schedule during a power outage?
Feeders with backup batteries continue dispensing on schedule. Without batteries, the schedule resets completely. Always install backup batteries before first use.
Most automatic feeders lose their programmed schedule when power is cut and no batteries are present. The clock resets and all meal times must be reprogrammed manually. Installing fresh alkaline batteries before setup prevents this entirely. WOpet troubleshooting documentation confirms that battery failure is one of the top causes of missed meals across all feeder brands.
How often should I clean my automatic pet feeder?
Clean the food tray weekly and deep-clean the hopper monthly. Regular cleaning prevents jams, bacterial growth, and portion inaccuracy.
Kibble dust and food residue build up inside the chute and hopper over time, causing blockages and inaccurate dispensing. Wipe down the exterior and wash the removable food tray once a week. Empty and clean the hopper fully once a month. Never submerge the base unit in water. Most removable trays and lids are dishwasher-safe, but confirm with your model’s manual before putting them in.
Can one automatic feeder work for multiple pets?
One feeder for multiple pets is possible but not ideal. Dominant animals eat first. Microchip-enabled feeders solve this problem most effectively.
In households with multiple pets, the faster or more dominant animal typically reaches the feeder first and consumes both portions. Standard feeders have no way to enforce per-pet meal limits. Microchip-recognition feeders only open for the registered pet’s chip, which solves the problem entirely. For homes with two similar-sized, similarly-paced pets, placing two separate feeders in different rooms is a simpler and more affordable solution.
What kibble size works best with automatic feeders?
Dry kibble between 2 and 13mm in diameter works best. Oversized pieces jam the chute. Very fine powder clogs internal sensors and mechanisms.
Most feeder manufacturers list the safe kibble size range in the user manual. Standard adult cat kibble (typically 7 to 10mm) and small-to-medium dog kibble (8 to 12mm) fall comfortably within that range. Large-breed dogs eating jumbo kibble over 15mm, or very small breeds eating fine-ground food, may need a feeder specifically rated for their food type. Check the bag dimensions against the feeder’s spec sheet before filling the hopper the first time.
Leave a Reply